 COPIER
How to Scan a Passport With Your Phone
To scan a passport with your phone, open it to the photo page, lay it flat on a dark surface in soft light with the flash off, and scan the whole page in color so the photo, your details and the two lines of code at the bottom are all sharp. Glare on the plastic laminate is the main thing that goes wrong, and tilting the phone slightly fixes it. Then check the form’s file type and size limit before you upload.
Which page to scan
Most forms want the photo page (also called the data page or bio page). It has your photo, name, nationality, date of birth, passport number and expiry date, and at the bottom two lines of letters, numbers and < signs. Those two lines are the machine-readable zone, or MRZ. Border systems, airlines and visa portals read them automatically, so a scan that cuts them off or blurs them is often rejected.
Some forms ask for more: the signature page, a page with a previous visa, or an entry stamp. Read the instructions and scan exactly what they ask for, each page on its own unless they say to combine them.
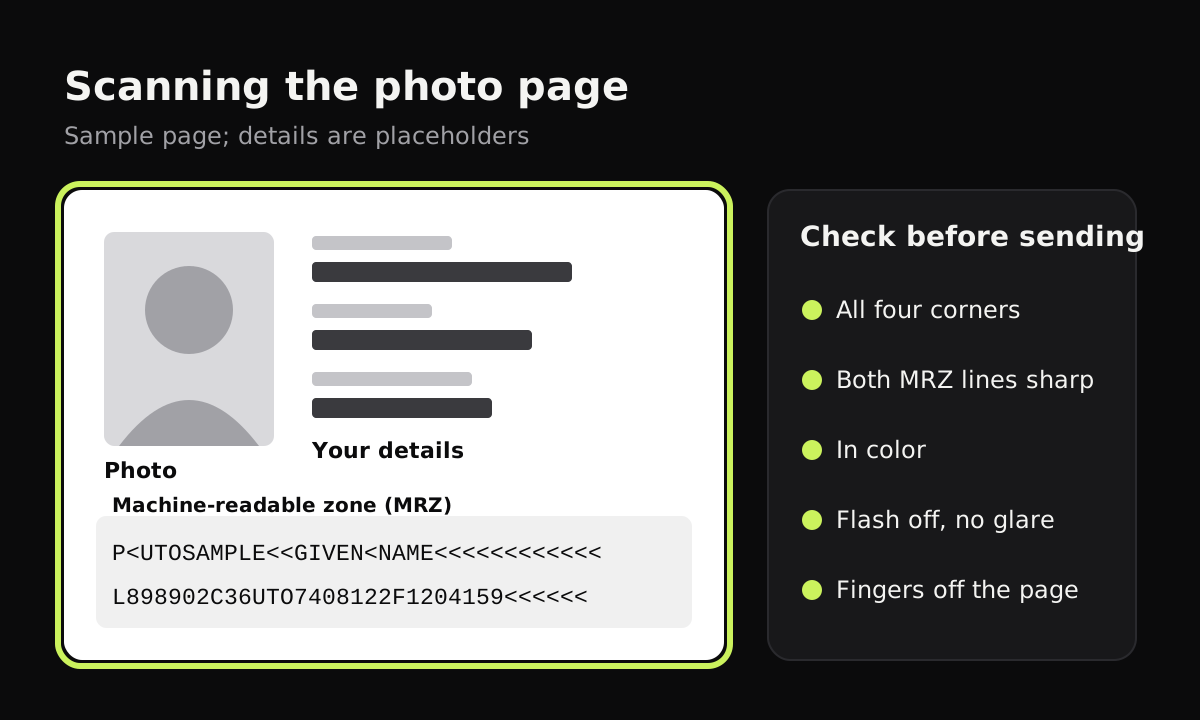
How to scan a passport with your phone
- Open it flat. Open the passport to the photo page and lay it on a dark, plain surface. Hold it open by the cover, so your fingers aren’t on the page. A heavy book on the other half works too.
- Turn the flash off. The photo page is laminated, and a flash leaves a white spot right over your details.
- Use soft light. Daylight from a window, or a room light that isn’t directly overhead. If you see a reflection on the page, tilt the phone a little until it moves off. A good scanner corrects the slight angle when it straightens the page.
- Scan the whole page. All four corners in view, with a bit of space around them, and both MRZ lines fully inside.
- Keep it in color. Your photo needs to be recognizable, and some forms ask specifically for a color copy.
- Zoom in and check. The passport number, dates and every character of the MRZ should be readable. If a reflection hides anything, retake it.
What visa and ID forms ask for
Requirements vary by country, agency and employer, so always check the form itself. These are the things that most often get a scan rejected, and how to meet them.
| Requirement | What forms usually ask | How to meet it |
|---|---|---|
| Page | The photo page; sometimes the signature or a stamp page | Scan each requested page; skip the rest |
| Whole page | All edges visible, MRZ not cut off | Leave space around the page; crop by hand if needed |
| Color | Color scan of the original | Use a color look, not black and white |
| No glare or shadow | Every detail readable | Flash off, soft light, tilt the phone slightly |
| File type | Often PDF; some accept JPG | Export the format the form names |
| File size | A maximum, sometimes a minimum too | India’s e-Visa, for example, wants the photo page as a PDF of 10 KB to 300 KB |
That last example is from India’s official e-Visa site, and it shows how tight limits can be. If your file is too big, export only the one page, use JPG if it’s accepted, or see how to make a scanned PDF smaller.
Share a passport scan carefully
A passport scan carries everything on your photo page, so treat it almost like the passport itself:
- Upload it only where it was asked for, ideally through the organization’s own portal rather than email.
- Don’t post it in group chats or shared folders, and delete it from chats once it’s been received.
- Mark it if you email it. Some people add a line across a copy, such as “Copy for ABC Hotel booking only”, in a photo editor before sending. It won’t stop a determined forger, but it makes the copy less useful for anything else.
- Keep your own copy somewhere private. If your passport is lost or stolen abroad, a copy of the photo page makes it easier to report and replace. US citizens report a lost or stolen passport to the State Department with Form DS-64, which cancels the old passport.
Scanning a passport with Copier
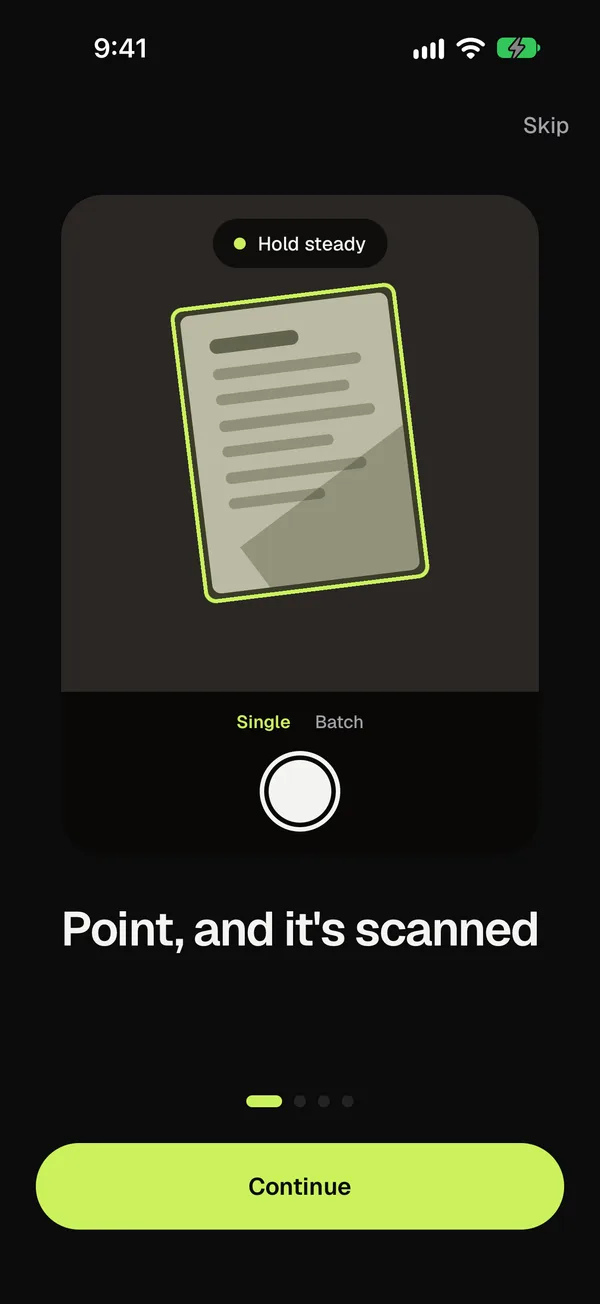
Copier finds the page’s outline live as you point your phone at it, and with Auto on takes the picture once you’ve held still for about a second. The page is cut out and straightened on your phone, and nothing is uploaded or tied to an account, which matters for a document like this. Use the ID card mode if you want the scan tagged that way in your library; it doesn’t change how the page is captured.
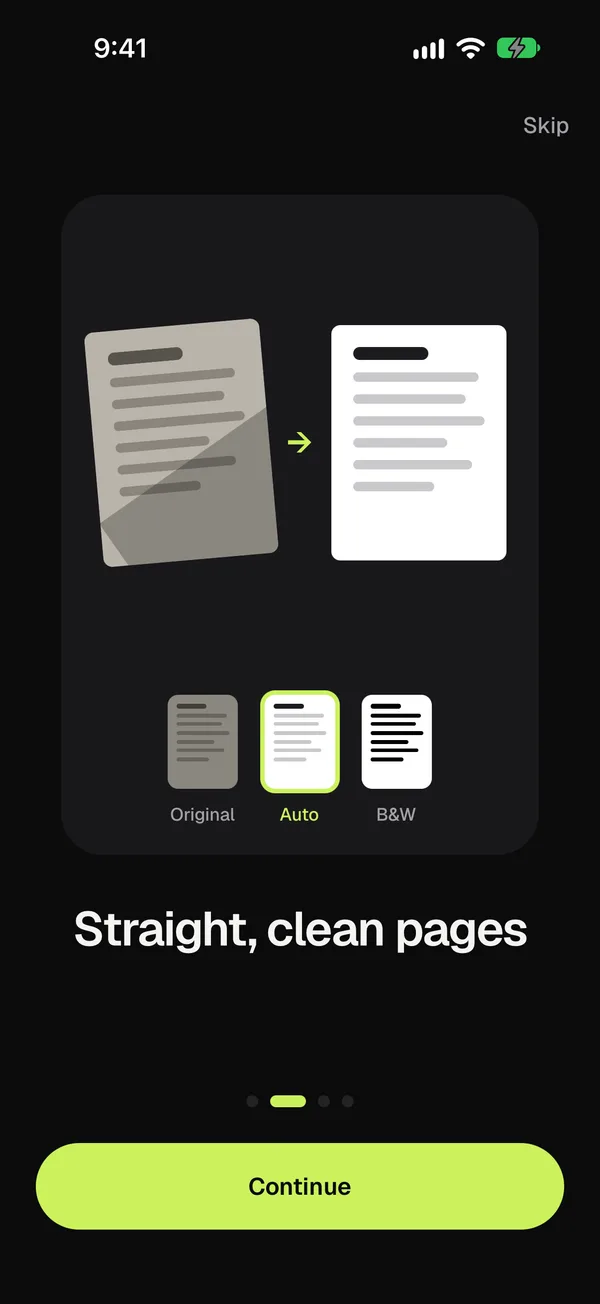
For a passport, pick the Auto look, which keeps color and evens out the lighting, or Original to leave the page exactly as photographed. If the outline misses a corner, open Crop and drag the corners into place. Share the page as JPG for free, or as PDF with Copier Pro. Copier’s PDFs put the page on an A4 sheet; if a form asks for an image rather than a PDF, share it as JPG.
Quick fixes
- Glare you can’t get rid of: move away from overhead lights and scan next to a window, or turn off the light right above you.
- The page won’t lie flat: new passports spring shut. Put something heavy on the other half, or scan on a table edge with the cover hanging off.
- Blurry characters: wipe the lens, add light, and let the app take the shot instead of tapping.
- The form rejects your scan: check the file type, size and whether it wanted the whole page or a crop. Many portals show the rule on the upload page.
If you also need a scan of a driver’s license or ID card, see how to scan an ID card. For more on glare and shadows, see how to get clean scans.
Questions
Which page of the passport should I scan?
Usually the photo page, also called the data or bio page, with your photo, details and the two lines of characters at the bottom. Some forms also ask for the signature page or a page with a visa or entry stamp, so read what the form asks for.
Should a passport scan be in color?
Yes, unless the form says otherwise. A color scan shows your photo and the security printing clearly, and some forms ask specifically for a color copy.
How do I avoid glare when scanning a passport?
Turn the flash off, scan in soft, even light, and tilt the phone slightly so the reflection of the light moves off the laminate. Keep the passport flat by holding the cover, not the page.
Is it safe to send a scan of my passport?
Send it only to the organization that asked for it, through their own form or portal where you can. Avoid posting it in group chats or unencrypted email, and delete copies you no longer need.
What should I do if my passport scan is too big to upload?
Export it as a JPG instead of a PDF, scan only the page that's needed, or use a PDF compressor. Check the form's limits first; some are as small as a few hundred kilobytes.