 COPIER
How to Scan Receipts, Even Long or Faded Ones
To scan receipts, lay the receipt flat on a dark surface, scan it with your phone’s camera in a scanner app, pick a black and white look so faint print comes out dark, then name it with the date, shop and amount. That takes about a minute per receipt and leaves you with a copy that stays readable after the paper fades. The steps below cover long receipts, faded thermal paper, iPhone and Android, and which kind of receipt app to use.
Why scan receipts at all?
Most till receipts are printed on thermal paper. The printer heats the paper to darken it, and the same paper slowly fades with heat, light and handling. A receipt left in a wallet or a hot car can be blank by the time you need it for a return, a warranty claim or your taxes. A scan taken the day you get it keeps the print as dark as it was at the till.
Scans are also easier to find. A shoebox of receipts has to be sorted by hand; a folder of scans named by date sorts itself.
How to scan receipts with your phone
These steps work with any scanner app, including the ones built into your phone:
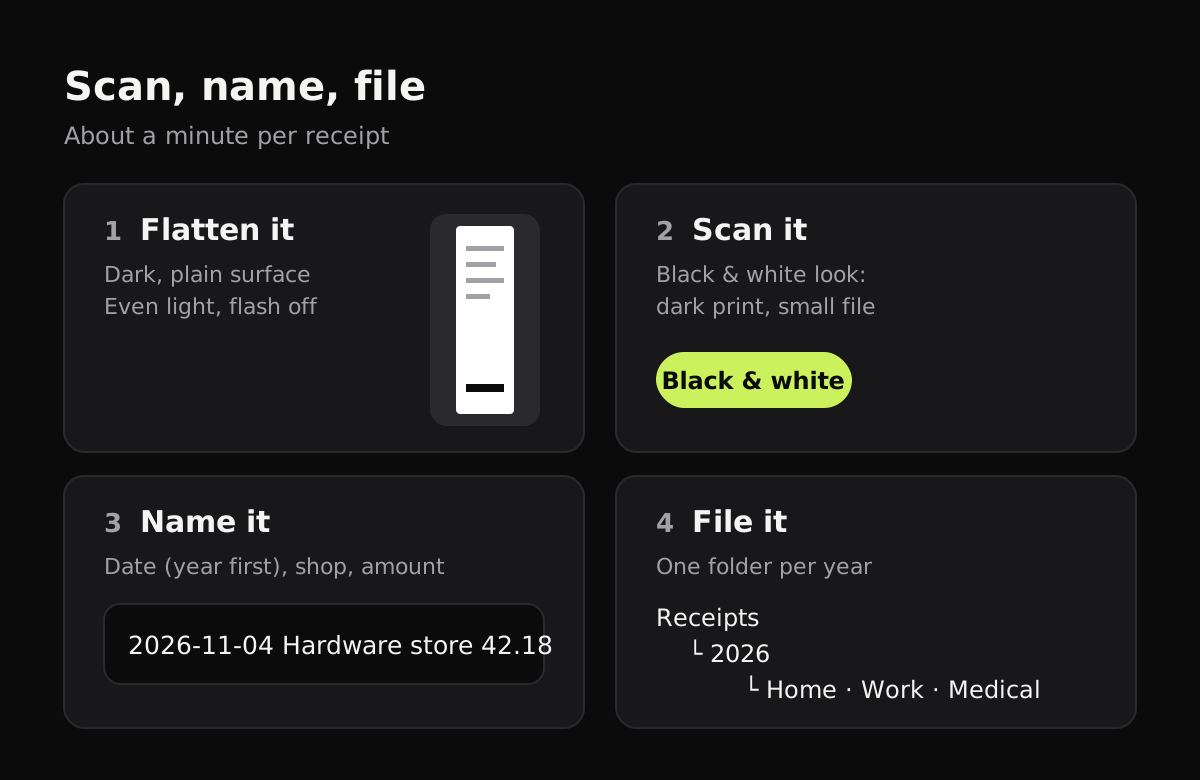
- Flatten it. Smooth out the folds with your hand. A crumpled receipt casts tiny shadows that make print harder to read.
- Use a dark, plain surface. A white receipt on a white desk is hard for any scanner to find. A dark table, a book cover or a sheet of dark paper makes the edges obvious.
- Get even light. Turn the flash off, which tends to leave a bright spot on glossy paper, and stand so your own shadow isn’t across the receipt.
- Hold the phone above it. Fit the whole receipt in the frame with a little space around it. Let the app take the picture once it has found all four corners.
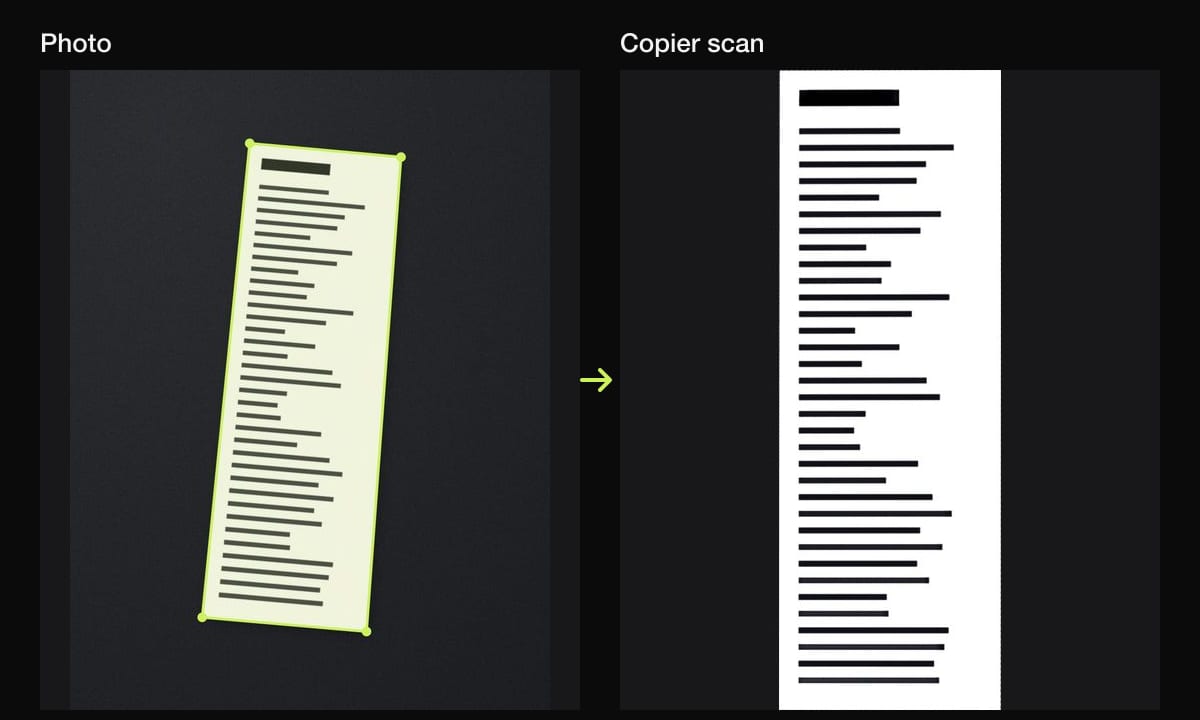
- Pick a look. Black and white suits most receipts: it makes faint gray print dark and keeps the file small. Keep color for receipts with a colored logo or stamp you need to show.
- Check it. Zoom in on the total and the date. If they aren’t sharp, retake it.
- Name it and file it. More on that below.
How to scan receipts on iPhone
The iPhone has a scanner in Notes and Files, so you don’t need to install anything:
- Open Notes and start a new note.
- Tap the Attachments button (the paper clip) and choose Scan Documents.
- Hold the iPhone over the receipt. It takes the picture when it finds the page, or you can tap the shutter.
- Tap Save. Rename the note with the date and shop so you can search for it later.
In Files, tap the More button (⋯) in a folder and choose Scan Documents to save the scan as a PDF straight into that folder. That is the better choice if you keep receipts in folders by year. For more on both, see how to scan documents on iPhone.
On Android, Google Drive has a similar Scan button; it saves the scan as a PDF in your Drive.
Long receipts
Restaurant bills and supermarket receipts can be longer than your phone’s frame. You have two options:
- Step back. Hold the phone higher until the whole receipt fits. A good scanner straightens and crops it afterwards, so the extra desk around it doesn’t matter. Check that the small print is still readable.
- Scan it in parts. If it’s too long to read from that distance, fold it or cover the bottom half, scan the top, then scan the bottom as a second page with a line or two of overlap. Keep both pages in the same document.
Faded receipts
If a receipt is already fading, scan it now and use the strongest black and white setting that keeps the numbers clear. Pushing the strength up turns light gray print darker, though it can’t bring back print that has disappeared completely. For those, your bank or card statement is often the only other record of the amount.
How to name and file scanned receipts
Give every scan a name that starts with the date written year first, then the shop, then the amount: 2026-11-04 Hardware store 42.18. Names in that form sort by date in any folder and are easy to search.
Then keep them in one folder per year, with a few subfolders if you need them: home, work, medical, warranty. If you keep receipts for a business or for deductions, see how to scan receipts for taxes for a fuller folder system and what the IRS expects from digital records.
Which receipt scanner app should you use?
“Receipt scanner app” covers apps that do quite different jobs. The difference comes down to what happens after the picture is taken.
| Kind of app | Examples | What it does with the receipt | Good for |
|---|---|---|---|
| Built-in scanner | Notes and Files (iPhone), Google Drive (Android) | Saves a cleaned-up PDF in a note, a folder or your Drive | The odd receipt, with nothing to install |
| Scanner app | Copier and other scanner apps | Finds, straightens and cleans the receipt; you name and file it | Keeping your own copies for returns, warranties and taxes |
| Expense app | Expensify, QuickBooks | Reads the merchant and total, and adds them to expense reports or your books | Businesses and employees who claim expenses |
| Rewards app | Fetch, Ibotta | Gives you points or cash back for what you bought | Earning rewards, not keeping records |
Expense apps are worth it if someone approves your expenses or you already keep your books in that software. They usually need an account, and your receipts are stored on the company’s servers. Rewards apps are a different thing altogether: they read your receipt to see what you bought, and you don’t get a filed copy you can rely on later.
Scanning receipts with Copier
Copier is a scanner app for iPhone, iPad, Android and the web. It shows the receipt’s outline as you point the camera at it, and with Auto on it takes the picture once you’ve held still for about a second. Use Batch to scan a stack of receipts one after another without leaving the camera.
Each receipt is cut out and straightened on your phone, including a curled one, and Black & white gives you crisp print in a small file. Tap the picked look again for a strength slider when the print is faint. Then rename the document with the date, shop and amount, and search your library by name when you need it.
Nothing is uploaded and there’s no account, so your receipts stay on your phone until you share them. Sharing as JPG is free for up to 10 documents; PDF export and unlimited documents come with Copier Pro, a one-time purchase. Copier doesn’t read the text on a receipt or back your scans up to the cloud, so if you need a backup, share the files to storage you already use. If you’d like to try it without installing anything, open Copier in your browser.
Tips for a receipt habit that sticks
- Scan the same day. Thermal print is at its darkest when it’s new.
- Batch them. Empty your wallet once a week and scan everything in one go. If you want to cut down on paper more generally, see how to go paperless.
- Keep the paper for big purchases until the return or warranty period ends, in case a shop insists on the original.
- Check your statement for any receipt you’ve lost: it shows the date, merchant and amount, even if not the items.
- Clean scans start with good light. If your receipts come out gray or shadowed, see how to get clean scans.
Questions
Can I scan receipts with my phone instead of keeping the paper?
Yes. A clear phone scan keeps the merchant, date, items and total readable long after a thermal receipt fades. For tax records, the IRS accepts electronic copies if they are legible, complete and easy to find, so check that each scan is readable before you throw anything away.
How do I scan a receipt on iPhone without an app?
Open Notes, start a note, tap the paper clip button and choose Scan Documents. Hold the iPhone over the receipt, let it take the picture, then tap Save. The Files app has the same scanner in its More menu.
Why do old receipts go blank?
Most till receipts are printed on thermal paper, which darkens where it is heated and fades with heat, light and time. Scan a receipt soon after you get it, while the print is still dark.
Is a receipt scanner app the same as Fetch or Ibotta?
No. Fetch and Ibotta scan receipts to give you points or cash back on purchases. They are not a place to keep copies of your receipts for taxes, returns or warranties.
What is the best way to name scanned receipts?
Start with the date written year first, then the shop and the amount, for example 2026-11-04 Hardware store 42.18. Names like that sort by date and are easy to search.